

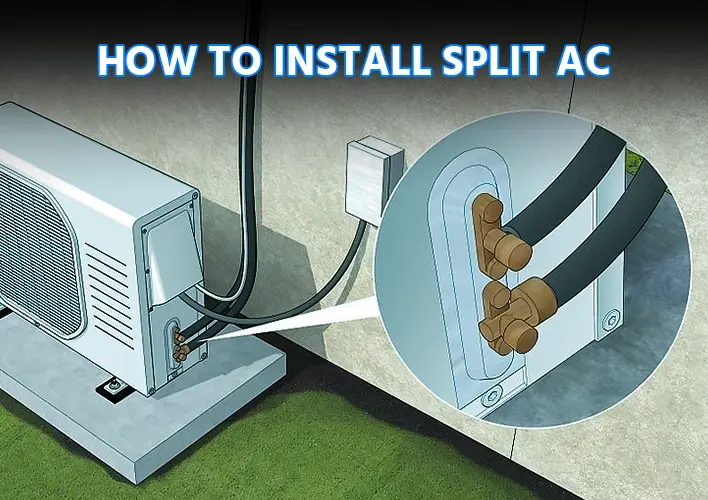
How to Install Split AC: A Step-by-Step Guide
Installing an air conditioner correctly is essential for efficient cooling, lower energy consumption, and long-term performance. If you are wondering how to install split AC, understanding the installation process can help you make informed decisions and ensure your cooling system operates safely. A split AC consists of an indoor unit and an outdoor unit connected through refrigerant piping, electrical connections, and a drainage system.
Although the installation process may look simple, it requires proper tools, technical knowledge, and careful planning. Incorrect installation can lead to refrigerant leaks, water leakage, poor cooling, and unnecessary electricity consumption. In this guide, you will learn about the essential installation steps, common mistakes to avoid, and maintenance tips for split air conditioners in Bangladesh.
What Is a Split AC?
A split air conditioner is a cooling system with two main units: an indoor unit installed inside the room and an outdoor unit placed outside the building. The indoor unit circulates cool air throughout the room, while the outdoor unit releases heat into the surrounding environment.
The two units are connected by insulated refrigerant pipes, electrical wiring, and a condensate drain line. This design makes split AC systems suitable for bedrooms, living rooms, offices, and commercial spaces.
Before installing a split AC, consider the room size, cooling capacity, wall structure, outdoor unit location, electrical supply, and drainage arrangements. Proper planning helps prevent installation problems and improves overall performance. To avail Split AC Service now: Split AC Service
Tools and Materials Required for Split AC Installation
Professional split AC installation requires specialized tools and materials. Depending on the model and site conditions, the technician may need:
Measuring tape and spirit level
Drill machine and suitable drill bits
Indoor unit mounting plate and appropriate fasteners
Refrigerant copper pipes and insulation
Condensate drainage pipe
Electrical cables and protective devices specified by the manufacturer
Pipe cutter, flaring tools, and torque wrench
Refrigerant manifold gauges and a suitable vacuum pump
Leak detection equipment and other manufacturer-recommended tools
The exact requirements vary by AC model and installation location. Always follow the manufacturer's installation manual rather than relying on a generic procedure.
How to Install Split AC: Step-by-Step Process
Step 1: Select the Right Installation Location
Choosing the correct location is the first step in installing a split air conditioner. The indoor unit should be mounted on a strong wall where air can circulate freely throughout the room. Avoid locations directly above heat-producing appliances or areas where curtains and furniture may block airflow.
The outdoor unit should be positioned in a well-ventilated area with adequate clearance for heat release and future maintenance. It must be supported by a stable mounting structure that can safely handle its weight.
The indoor and outdoor units should be positioned within the piping limits specified by the manufacturer. Shorter, properly routed pipe connections can simplify installation, but minimum and maximum piping requirements must always be respected.
Step 2: Install the Indoor Unit Mounting Plate
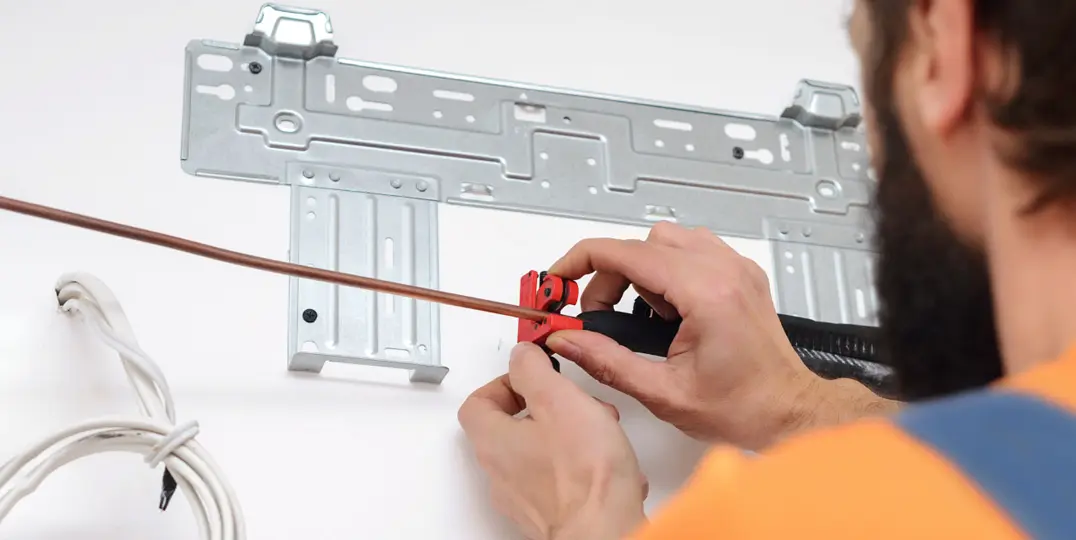
After selecting the location, the technician marks the mounting points and secures the indoor unit's mounting plate to the wall.
Use suitable fasteners for the wall material and ensure the plate is level. Weak mounting, incorrect positioning, or unsuitable anchors can cause vibration, noise, or damage.
The technician also plans the route for the refrigerant pipes, connecting cables, and drainage hose before drilling any wall opening. This helps keep the installation neat and reduces the risk of damaging concealed electrical wiring or plumbing.
Step 3: Drill the Wall Opening
A wall opening is generally required to pass the refrigerant pipes, drain hose, and connecting cables between the indoor and outdoor units.
The opening must be appropriately sized and angled according to the manufacturer's instructions and site conditions. It should also be sealed properly after the connections are completed to prevent rainwater, insects, and dust from entering the room.
Before drilling, check for concealed pipes and electrical cables. This step should be performed carefully to avoid structural damage and safety hazards.
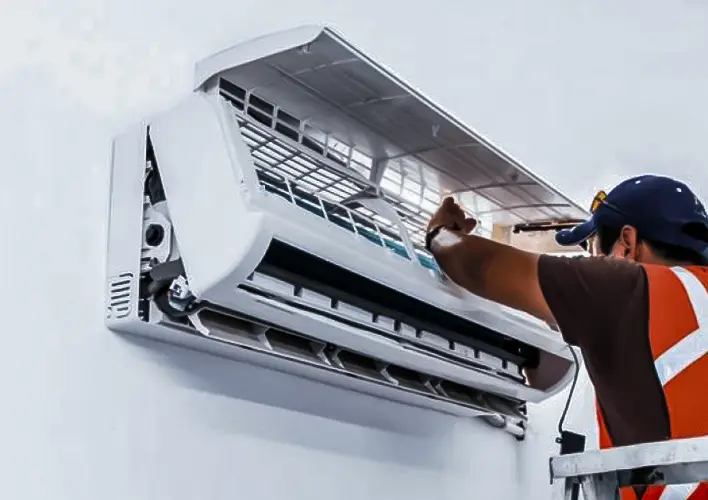
Step 4: Mount the Indoor Unit
Once the mounting plate and wall opening are ready, the technician prepares the piping and wiring connections according to the manufacturer's instructions.
The indoor unit is then securely mounted on the plate. The refrigerant pipes must be routed without excessive bending, crushing, or strain. Damaged or poorly formed pipe connections can cause refrigerant leaks and reduce cooling performance.
The drainage hose must also be positioned correctly so that condensed water can flow out without obstruction or backflow.
Step 5: Install the Outdoor Unit
The outdoor unit should be installed on a stable platform, suitable wall brackets, or another approved support. The location must provide sufficient airflow and convenient access for maintenance.
Use the specified mounting hardware and vibration-reducing components where required. Keep the unit away from obstructions that could restrict air circulation.
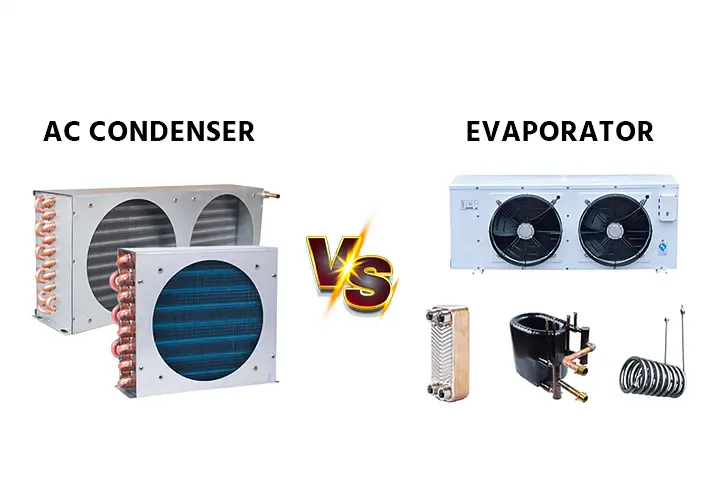
The outdoor unit contains important components, including the compressor and condenser coil. Understanding the AC condenser vs evaporator difference can help homeowners recognize why the outdoor unit releases heat while the indoor unit absorbs it.
Step 6: Connect Refrigerant Pipes and Electrical Wiring
The indoor and outdoor units are connected through refrigerant piping and the electrical connections specified by the manufacturer.
Copper pipes must be cut, prepared, and connected using the correct tools and techniques. Properly made flare connections, appropriate tightening torque, and careful pipe insulation help prevent leaks and unwanted condensation.
Electrical wiring must follow the unit's wiring diagram, local electrical requirements, and recommended circuit protection. Incorrect wiring can damage equipment or create an electric shock or fire hazard.
Refrigerant handling and electrical connections should be completed by a qualified AC technician.
Step 7: Perform Vacuuming and Leak Testing
Before releasing refrigerant into the connected system or commissioning the AC, the technician must follow the manufacturer's specified procedures for pressure testing, leak detection, and evacuation.
A suitable vacuum pump and gauge are used to remove air and moisture from the refrigerant circuit. The technician then verifies that the system meets the required vacuum and leak-testing criteria.
Skipping this process can contribute to poor cooling, corrosion, abnormal operating pressures, and compressor damage. Refrigerant should never be vented deliberately into the atmosphere.
Step 8: Check the Drainage System
During cooling, moisture from indoor air collects on the evaporator coil and flows into the drainage system. A blocked or incorrectly installed drain line can cause water to drip from the indoor unit.
The technician should confirm that the drain hose has the correct slope, is free from kinks, and directs water to a suitable outlet. The drainage system should be tested before completing the installation.
Step 9: Test the AC and Confirm Cooling Performance
After installation, the technician starts the air conditioner and checks whether it operates according to the manufacturer's specifications.
The final inspection should include cooling performance, airflow, operating noise, drainage, electrical connections, and any signs of refrigerant leakage. The technician should also confirm that the remote control works correctly and explain the essential operating functions to the user.
Common Mistakes to Avoid During Split AC Installation
Several installation mistakes can affect an air conditioner's performance and lifespan. Avoid these common problems:
Installing the indoor unit where airflow is blocked.
Placing the outdoor unit in a poorly ventilated area.
Using unsuitable mounting hardware.
Bending or damaging refrigerant pipes.
Skipping required vacuuming and leak testing.
Installing the drainage hose incorrectly.
Using unsuitable electrical wiring or circuit protection.
Ignoring the manufacturer's piping length and installation requirements.
Professional installation helps reduce these risks and ensures the system is commissioned according to its technical specifications.
Split AC Maintenance Tips After Installation
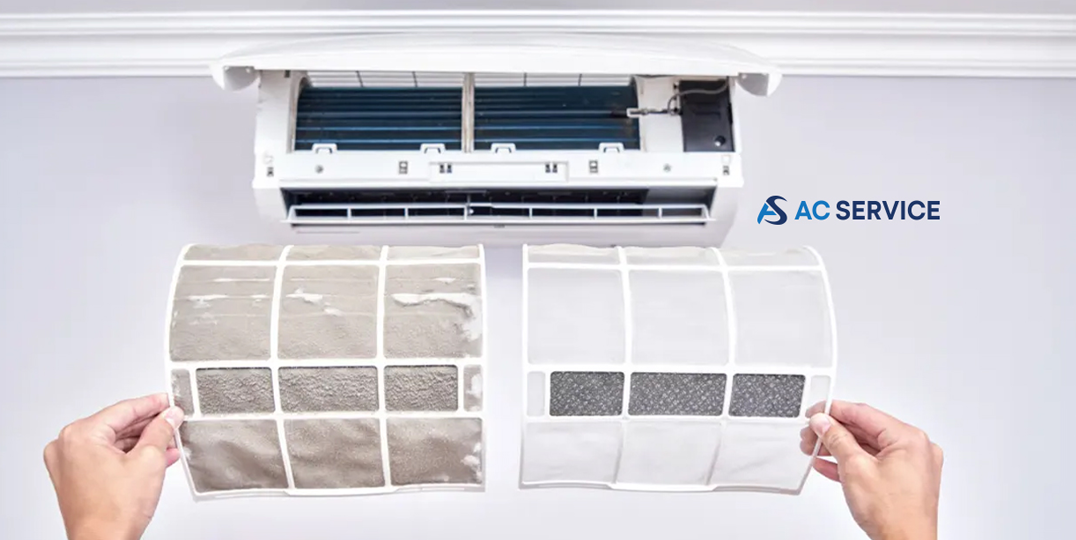
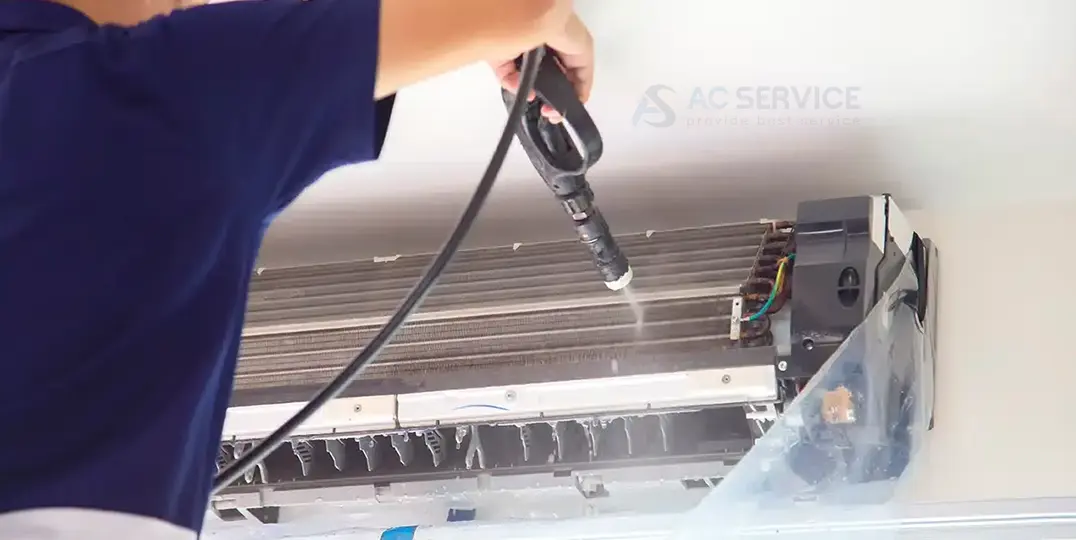
Regular maintenance is essential for keeping your split AC clean and efficient. Clean or inspect the air filter according to the manufacturer's recommendations, especially during periods of heavy use. Keep the outdoor unit free from leaves, dust, and other obstructions.
Arrange professional servicing when cooling becomes weak, unusual noises develop, water leakage occurs, or the unit shows other signs of malfunction.
If you want to learn more about routine maintenance, explore What Is AC Servicing? You can also read How to Clean the Filter on Your Air Conditioner? for practical filter-care guidance.
When choosing a cooling system, comparing Split AC vs Window AC and Inverter AC vs Non Inverter AC can help you understand installation requirements, operating characteristics, and potential energy savings.
For homeowners seeking maintenance guidance, an AC Service Blog can provide useful information about common AC problems and preventative care. You can also explore AC Service Bangladesh for information relevant to local installation and maintenance needs.
If you need professional installation or servicing assistance, AC Service BD can be a relevant resource for learning about air conditioning service options. When selecting an AC Service Product, always check its compatibility with your equipment and follow the manufacturer's instructions.
Conclusion
Learning how to install a split AC involves more than mounting two units on a wall. Proper location selection, secure mounting, careful pipe routing, safe electrical connections, effective drainage, vacuuming, and leak testing are all essential for reliable operation.
Although understanding the installation process helps you make better decisions, refrigerant handling and electrical work should be performed by a qualified technician. Correct installation and regular maintenance can improve cooling performance, reduce avoidable problems, and help your split air conditioner operate reliably for years.
For submit your comment, you need to login first.
All Categories
Recent Posts
How to Install Split AC: A Step-by-Step Guide
AC Condenser vs Evaporator: Key Differences, Functions, and Maintenance Tips
Inverter AC vs Non Inverter AC: Which Is Better for Your Home?
Split AC vs Window AC: Which One Is Better for Your Home?
Tags
Related Blogs
Discover more helpful articles and insights about AC services and maintenance in Bangladesh

00 Comments